Homemade wax is a practical, less painful, and skin-friendly hair removal option. It's reusable, chemical-free, natural, and cost-effective, reducing the risk of allergic reactions. So, grab your apron and make your wax.
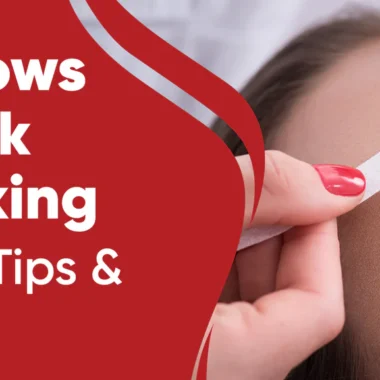
To make reusable wax strips, carefully cut or tear the thick paper into strips of your preferred size and shape. Before waxing, lightly dust the target area with baby powder or cornstarch to absorb moisture.
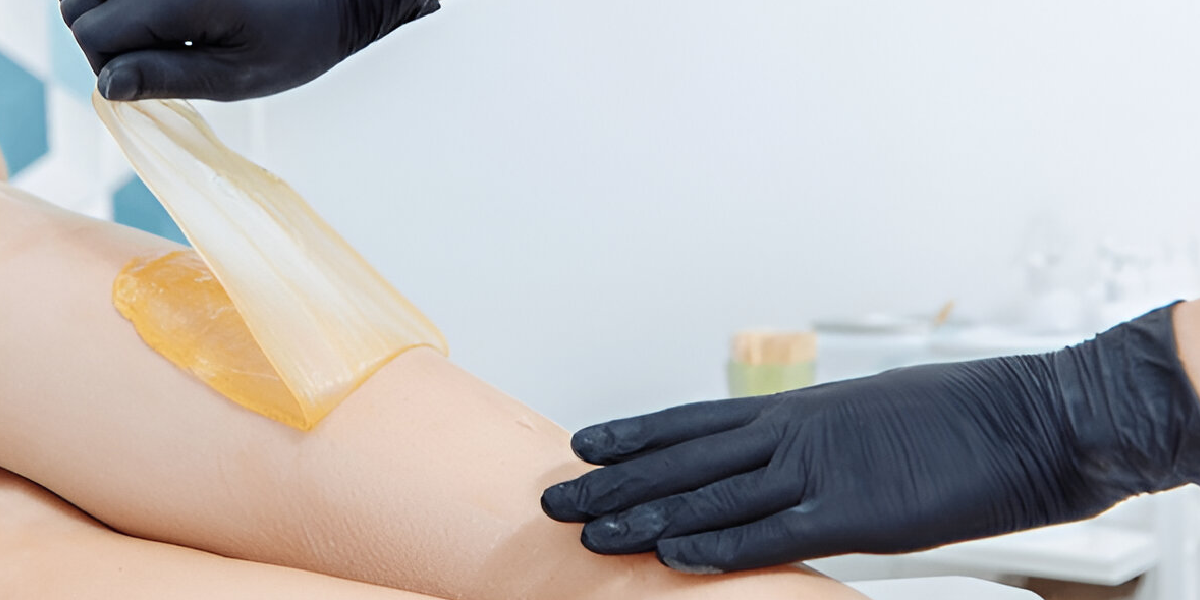
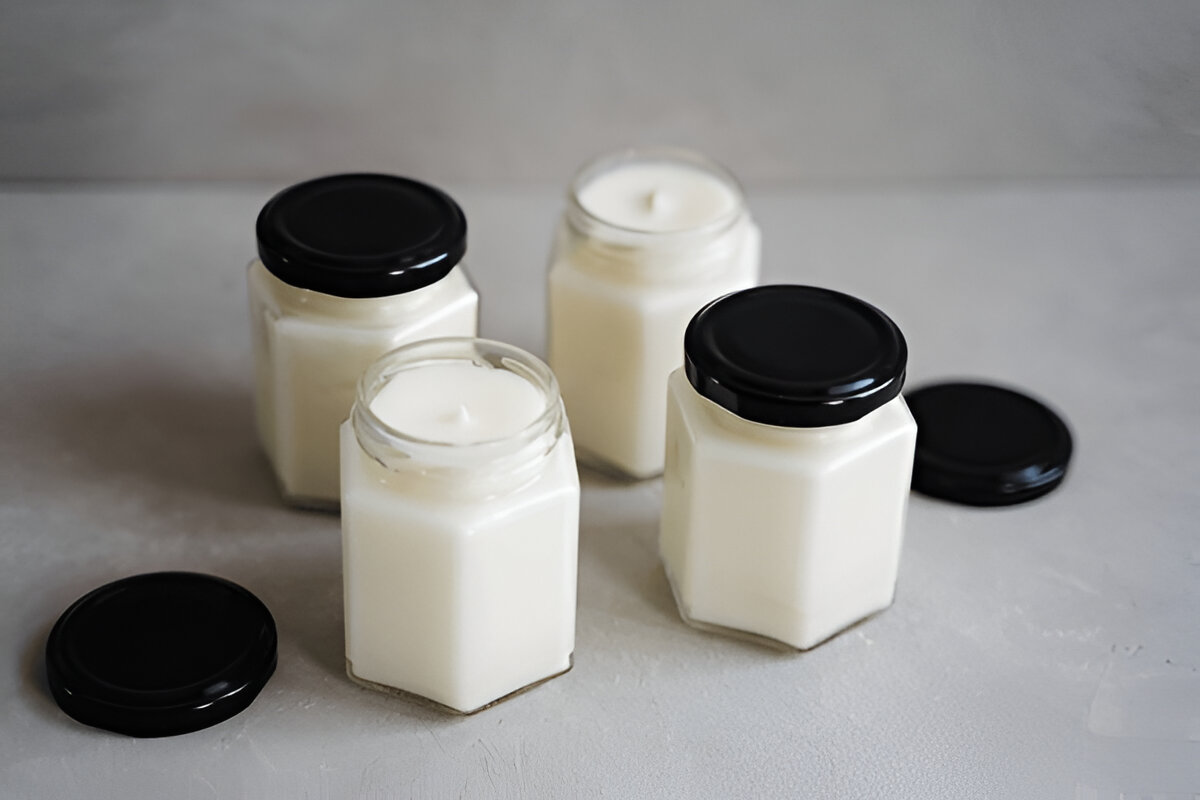
Apply a thin layer of the homemade wax toward hair growth. This will help optimize the waxing process and ensure effective hair removal
In this post, we'll provide step-by-step instructions for making your reusable wax strips and tips on proper use and storage.
How To Make Reusable Wax Strips: 5 Steps
Waxing is a widely embraced technique for hair removal, but using disposable wax strips results in substantial waste and expenses. Instead, consider crafting reusable wax strips for you at home.
Not only is it a simple and eco-conscious solution, but it also guarantees a flawlessly smooth and hair-free appearance. These 5 steps below will show you how to do it effortlessly.
Materials Needed
- Natural beeswax.
- Sugar.
- Organic coconut oil.
- Natural cotton or flannel fabric.
- Scissors.
- Ruler.
- Double boiler or a heatproof bowl and pot.
- Wooden spoon for stirring.
- Parchment paper.
- Storage container.
✔ Top Pick: Natural Beeswax Pellets
Many people use natural beeswax pellets to create skin-friendly, reusable wax at home.
Preparing the Wax
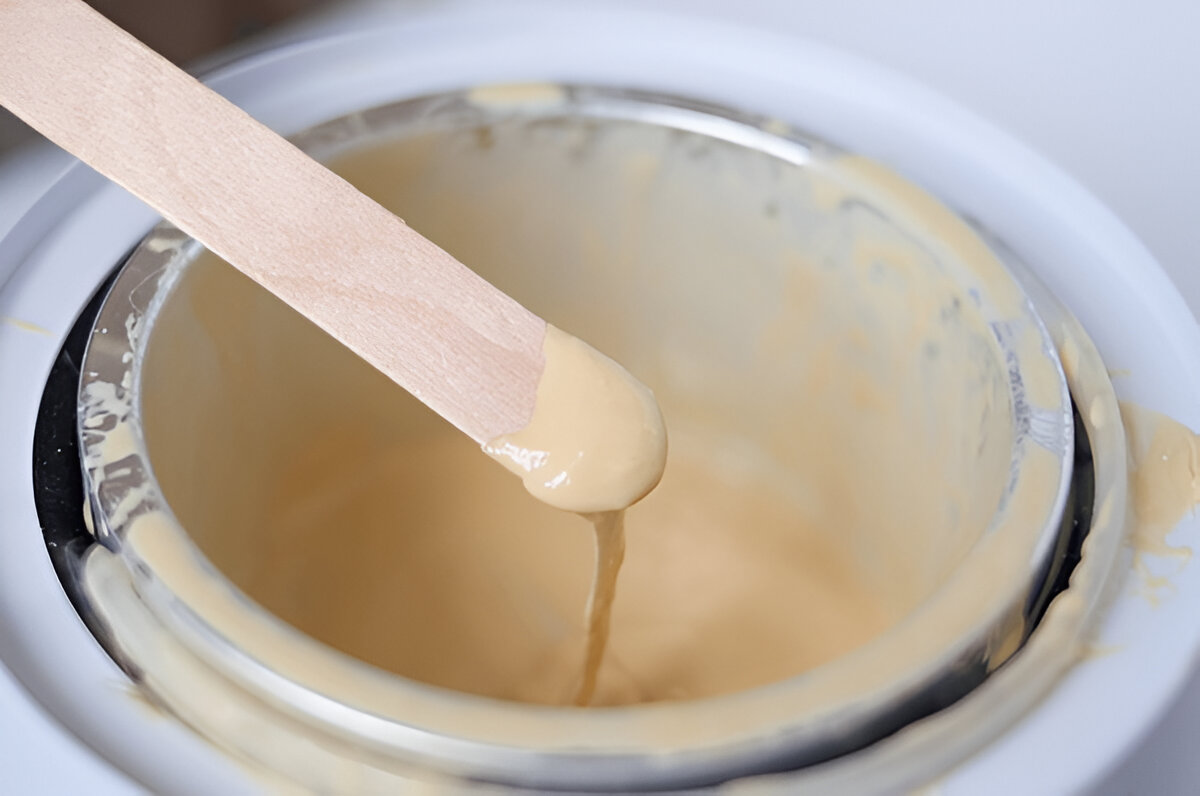
The first step in making beeswax is to measure the desired amount in a saucepan. After removing the beeswax, use a measuring cup you will not use again for food.
Melt the beeswax gently in a saucepan over low heat. Stir regularly to prevent it from burning.
Adding the Fabric
When the beeswax melts, cut the cotton fabric into strips. Cut the fabric according to the size of the waxed area.
After the beeswax has melted, remove it slowly from the heat source. Ensure that your fabric strips are thoroughly coated with beeswax. Cover the fabric with beeswax using a wooden spoon.
Cutting the Strips
Once the beeswax has fully coated each strip of fabric, place it on parchment paper to cool and harden. If your waxing area requires a different shape or size, you can experiment with them.
Testing the Strips
Once the strips have cooled and hardened, test them on a small skin patch to ensure they work. If the wax doesn't pull out the hair quickly, you may need to reapply beeswax to the fabric.
To Store Wax Strips To Be Reused: 6 Tips
Proper storage of reusable wax strips is crucial, as it can affect their performance. Incorrect storage methods can cause the strips to lose shape, harden, or even melt.
These factors can lead to inefficiency during use and decrease the lifespan of the strips. Tips on how to keep reusable wax strips in good condition will be discussed.
Recommended Storage Containers
The following storage containers are recommended for reusable wax strips:
- Plastic Containers: Plastic containers with lids are great for storing wax strips. They protect against moisture and prevent dust from settling on the strips.
- Ziplock Bags: Ziplock bags are also a good option for storing wax strips. They are inexpensive and can be easily sealed to keep the strips fresh.
- Cloth Bags Cloth bags are an eco-friendly storage option that is washable and reusable. They provide a protective cover for the strips, preventing them from drying.
Tips for Maintaining Quality
To ensure that your reusable wax strips last longer and provide optimum results, follow these tips:
- Keeping Strips Clean: Ensure they are clean before storing your wax strips. Remove any wax residue with a damp cloth.
- Storing in a Cool or Dry Place: Avoid storing wax strips in areas exposed to direct sunlight or heat. Instead, keep them in a cool and dry place to prevent them from melting or losing shape.
- Regular Inspection: Check the condition of your wax strips regularly. Look for cracks and tears. Discard a damaged strip and use a new one.
Conclusion
Reusable wax strips are revolutionizing hair removal. They offer an eco-friendly solution and are a cost-effective and convenient alternative that can be easily crafted at home.
By adhering to our straightforward, meticulously crafted guidelines and expert tips on the correct utilization and storage, you can relish the enduring advantages of reusable wax strips.
Bid farewell to disposable products that wreak havoc on the environment and deplete your wallet, and welcome the embrace of silky, hair-free skin! Try it and experience the astounding results firsthand.