A new parent stands in the doorway of the nursery, spray bottle in hand, wondering if today is the day they need to disinfect every surface the baby might touch. It’s a common worry, and it usually comes from good intentions rather than any real emergency.
The truth is simpler than most cleaning guides suggest. A baby’s room does not need to be sterile to be safe. Routine cleaning handles the everyday dust, fingerprints, and general mess, while disinfecting is a more targeted step that matters most in specific situations, such as illness or contamination.
This guide walks through when cleaning is enough, when disinfecting actually helps, and how to do both safely around a baby. It also covers toys, fabrics, floors, the humidifier, and the mistakes worth avoiding, so the whole room stays manageable without constant worry.
Do You Really Need to Disinfect a Baby’s Room?
This is usually the first question worth answering, because it clears up a common misconception. Most nurseries do not need daily disinfecting. Understanding the difference between cleaning and disinfecting makes the rest of this guide much easier to apply.
Cleaning vs. sanitizing vs. disinfecting
These three words get used interchangeably, but they mean different things.
- Cleaning removes dirt, dust, and many germs using soap or detergent and water. It does not necessarily kill germs, but it physically takes them away.
- Sanitizing reduces germs to levels considered safer, often used for mouth-contact items like toys, bottles, and feeding gear.
- Disinfecting uses a chemical product to kill most remaining germs on a surface, and it’s generally reserved for specific situations rather than everyday use.
For an ordinary healthy household, cleaning is the starting point for almost everything in the nursery.
When routine cleaning is enough
Normal daily use of a baby’s room, such as dust settling on furniture, fingerprints on the crib rail, or general household mess, calls for regular cleaning rather than disinfecting. Wiping surfaces with soap and water, vacuuming, and doing laundry on a normal schedule covers most of what a nursery needs.
When disinfecting makes sense
Disinfecting becomes more useful in specific circumstances, including:
- Someone in the household is sick
- Vomit, stool, urine, blood, or another body fluid has contaminated a surface
- A particularly high-touch surface has been contaminated
- A household member has a higher risk of infection
Routine disinfection of an entire nursery is generally unnecessary when nobody is sick and no contamination has occurred. Saving disinfectants for these specific moments keeps the room clean without overusing chemicals around the baby.
What You Need Before Cleaning the Nursery
A short supply list makes cleaning sessions faster and helps avoid grabbing the wrong product for the job.
- Mild soap or an appropriate household cleaner
- Clean microfiber cloths
- Disposable paper towels, when appropriate
- A vacuum
- A mop suited to the nursery’s flooring type
- Laundry detergent
- An EPA-registered disinfectant, kept on hand for when disinfection is actually needed
- Gloves, when the disinfectant label calls for them or when handling body fluids
Keeping these items together in one spot makes it easier to clean consistently rather than searching for supplies every time.
Safety Steps Before You Start
A few precautions before cleaning or disinfecting help protect the baby from unnecessary chemical exposure.
Move the baby away from cleaning sprays
Keep the baby out of the room while using cleaning sprays or disinfectants. Spraying these products directly around a baby is not recommended.
Ventilate the room
Open a window or improve airflow while cleaning or disinfecting indoors. Good ventilation helps clear fumes and speeds up drying time.
Read the product label
Before using any cleaner or disinfectant, check the label for:
- Which surfaces it’s suitable for
- Dilution instructions, if any
- The required contact time
- Whether rinsing is necessary afterward
- Any ventilation instructions
Never mix cleaning products
Never mix cleaning or disinfecting chemicals unless the product directions specifically say it’s safe to do so. This applies especially to bleach, which can react dangerously with other cleaners.
Keep all products locked away afterward
Store cleaning products securely once you’re finished. Babies and toddlers naturally explore objects with their mouths, so keeping chemicals out of reach matters even between cleaning sessions.
How to Disinfect a Baby’s Room Step by Step
This is the core routine for a thorough nursery clean, whether you’re doing a regular tidy-up or preparing to disinfect specific surfaces.
Step 1: Remove clutter and dirty laundry
Start by clearing bottles, dirty laundry, used wipes, trash, and any movable toys out of the room. This gives you a clear space to work and prevents you from cleaning around obstacles.
Step 2: Dust and vacuum before wet cleaning
Handle dry debris first. Dusting shelves and vacuuming the floor before wiping down surfaces keeps you from spreading dust into freshly cleaned areas.
Step 3: Clean surfaces before disinfecting
Use soap or detergent and water, or a cleaner suited to the surface material, before applying any disinfectant. This step matters more than it might seem: dirt and organic matter can reduce how well a disinfectant works, so cleaning first gives any later disinfecting step a real chance to do its job.
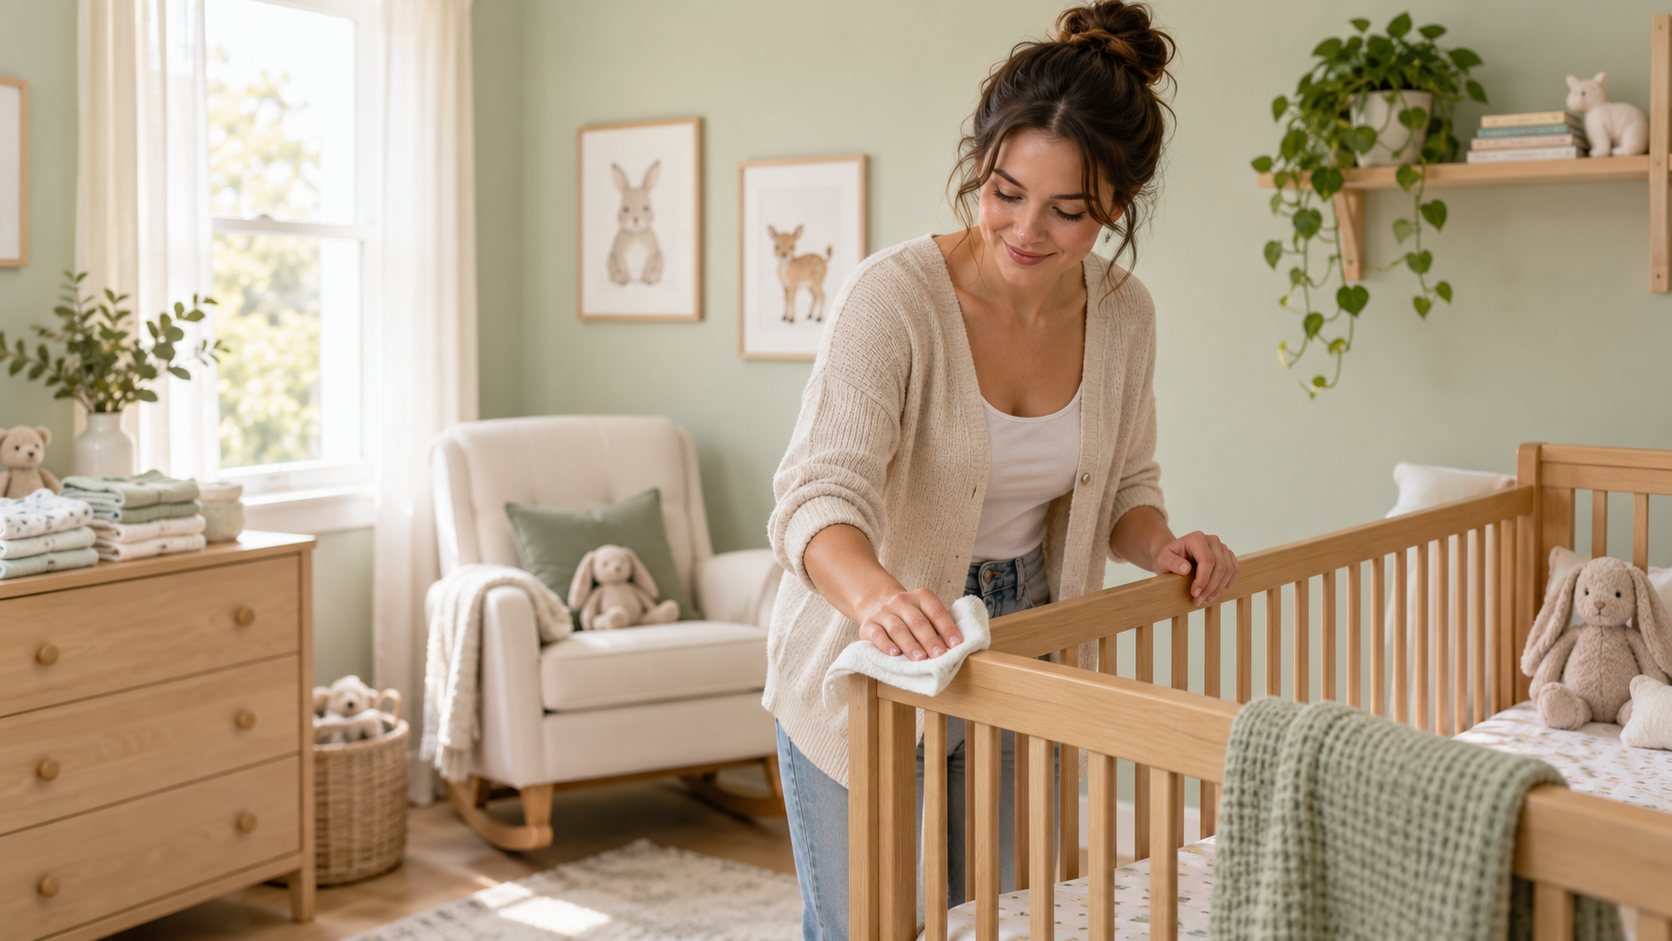
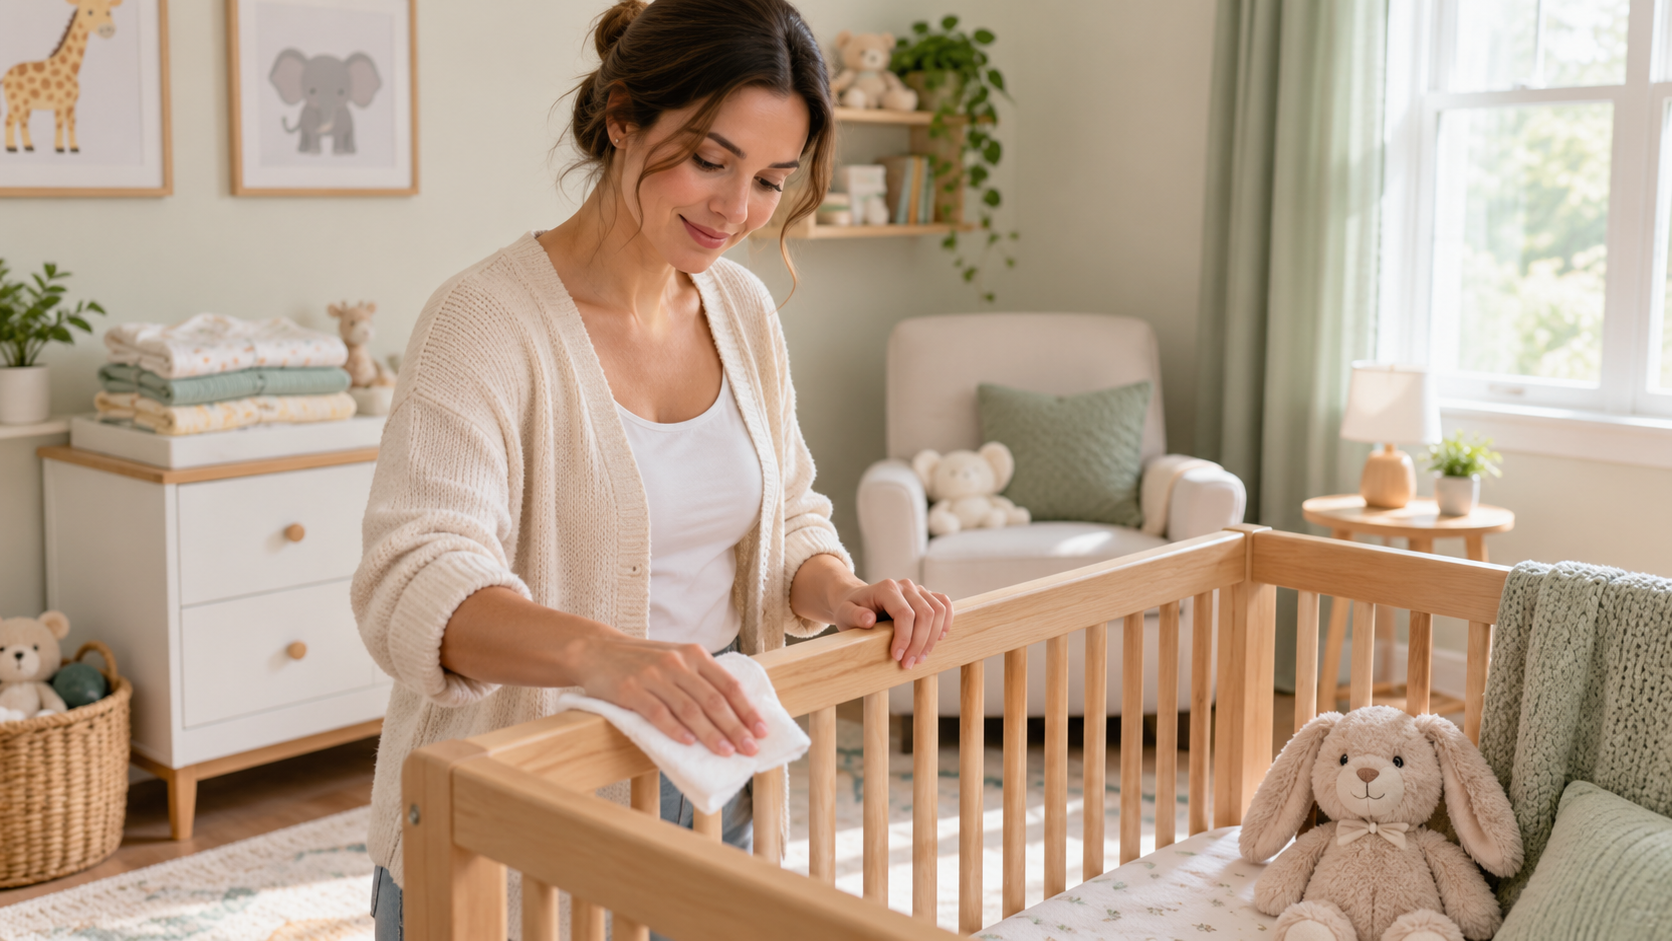
Step 4: Clean crib rails and nursery furniture
Wipe down the crib rails, dresser, drawer handles, hard surfaces of the rocking chair, shelves, and toy storage. Follow the manufacturer’s care instructions, especially for painted, coated, or wooden surfaces, since some cleaners can dull or damage finishes. Routine dusting and wiping is usually enough here. Spraying crib rails with disinfectant is not something to do automatically or on a set schedule.
Step 5: Clean and disinfect the changing area
The changing area deserves closer attention because contamination is far more likely here than almost anywhere else in the room. Clean the surface after each diaper change, and deal with urine, stool, or other contamination right away rather than letting it sit.
This includes:
- The changing pad
- The table itself
- Handles and nearby surfaces
- Diaper supplies kept nearby
- The exterior of the diaper pail
Clean up spills and visible contamination promptly. Wash and disinfect the diaper pail when it’s been contaminated by leaking waste or body fluids, rather than disinfecting it after every single bag change.
Step 6: Clean high-touch surfaces
Frequently touched surfaces build up germs faster than surfaces that rarely get handled. Give regular attention to:
- Door handles
- Light switches
- Drawer pulls
- Baby monitor controls
- Remote controls
- Other furniture that gets handled often
Regular cleaning of these surfaces is a simple habit that covers a lot of ground without much extra effort.
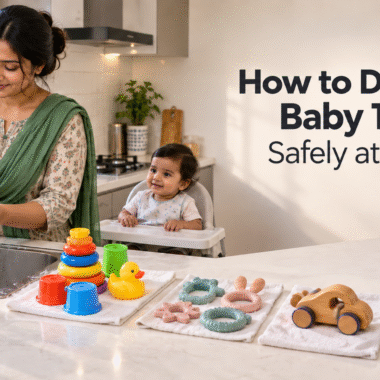
How to Clean and Disinfect Baby Toys in the Room
Babies explore the world with their mouths, which makes toy care worth its own section. The right method depends heavily on what the toy is made of.
Hard plastic and silicone toys
Follow the manufacturer’s cleaning directions first. For toys that are hard, nonporous, and labeled as suitable, sanitizing options can include boiling, steaming, or running them through a dishwasher’s sanitizing cycle.
Plush and fabric toys
If the care label allows it, machine wash plush toys using the warmest water setting the fabric can handle, then dry them completely before returning them to the nursery.
Wooden toys
Avoid soaking wooden toys unless the manufacturer specifically says it’s safe. Instead, use the cleaning method recommended for that toy’s particular finish or material.
Battery-powered or electronic toys
Never immerse electronic toys in water. Follow the manufacturer’s cleaning instructions and focus on wiping down the exterior surfaces the baby actually touches.
Toys that frequently go in baby’s mouth
Toys that regularly end up in a baby’s mouth need more frequent attention than toys used mainly for play or decoration. Sanitize these based on their material, using the methods above, rather than treating every toy in the room the same way.
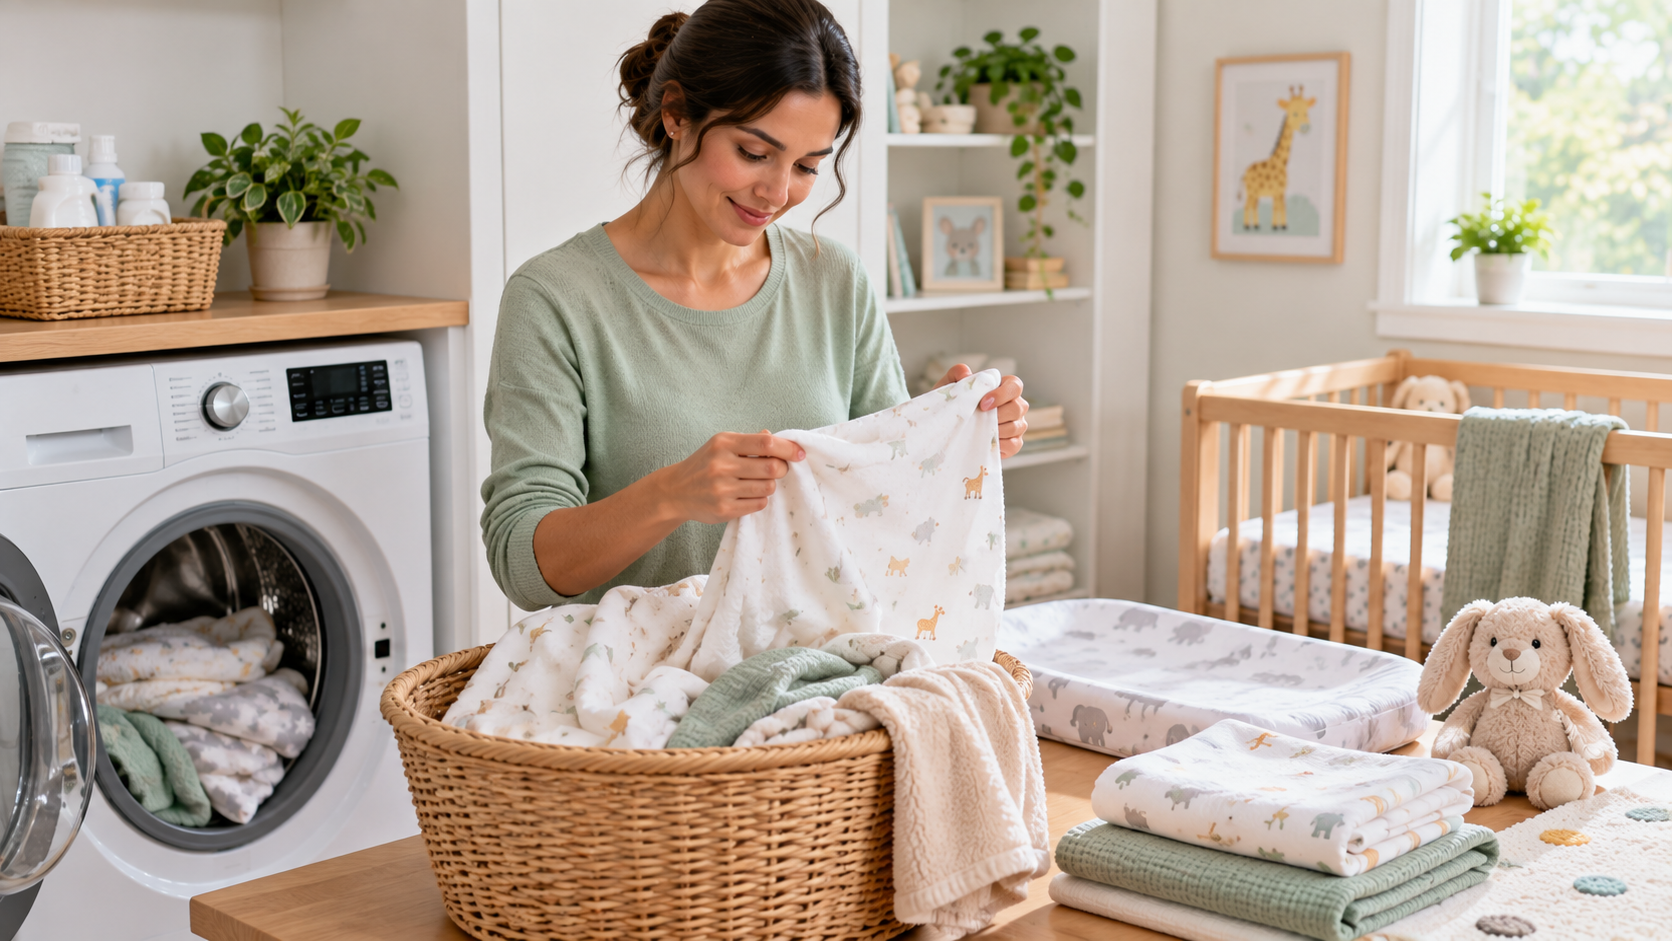
Wash Crib Sheets, Blankets and Other Fabrics
Nursery textiles need regular laundering, especially anything the baby sleeps on or is wrapped in. This includes:
- Crib sheets
- The mattress protector
- Changing pad covers
- Washable play mats
- Curtains, when dusty or soiled
- Washable plush items
Wash these regularly, and immediately if they become soiled. Use the warmest water setting the fabric’s care label allows, rather than defaulting to hot water for everything. Fragrance-free or “free and clear” detergents can be helpful for babies with sensitive skin, though not every baby needs a special detergent.
Clean Floors, Rugs and Carpets
Floor care in the nursery depends on the flooring material.
Hard floors: Vacuum or sweep first, then use a cleaner suited to that specific flooring material. Acidic cleaners can damage some floors and finishes, so it’s worth checking what your flooring actually recommends rather than reaching for a one-size-fits-all solution.
Carpets and rugs: Vacuum regularly and address spills as soon as they happen. Wash machine-washable rugs according to their care labels. Disinfecting an entire carpet isn’t part of normal nursery maintenance and isn’t necessary unless there’s a specific reason, such as significant contamination.
Don’t Forget the Nursery Humidifier
It’s easy to focus entirely on surfaces and overlook the humidifier, but it deserves regular attention too. Standing water inside a humidifier can allow microorganisms to grow if the unit isn’t maintained.
For portable humidifiers:
- Empty and refill the water daily
- Wipe surfaces dry between fills
- Clean the unit regularly, not just when it looks dirty
- Avoid letting water sit in the tank
- Follow the manufacturer’s cleaning instructions
- Rinse out any cleaning chemicals thoroughly before using the humidifier again
A poorly maintained humidifier can develop bacteria or mold over time, so this small daily habit is worth keeping up.
Which Disinfectants Are Appropriate Around a Baby?
When disinfecting is actually needed, the type of product matters.
EPA-registered disinfectants
Look for a disinfectant that’s EPA-registered, and check the label for an EPA registration number. This confirms the product has been reviewed for its intended use.
Products using safer active ingredients
Some disinfectants use active ingredients that are generally considered gentler options, including hydrogen peroxide, citric acid, L-lactic acid, and ethanol. The EPA’s Design for the Environment program identifies antimicrobial products that meet EPA registration requirements along with additional ingredient criteria, which can be a helpful reference point when comparing products.
What about 3% hydrogen peroxide?
Hydrogen peroxide is one of the active ingredients considered a potentially safer disinfecting option. That said, it’s best to use a product that’s specifically labeled for disinfecting rather than assuming any homemade peroxide application will work on every surface, germ, or contact time. Choose a properly labeled product and follow its instructions for the surface you’re treating.
Does vinegar disinfect a baby’s room?
This comes up often enough to deserve its own answer: no, not reliably. Vinegar can be useful for ordinary cleaning tasks, cutting through odors, or removing mineral buildup, but it isn’t a registered household disinfectant. If you actually need to disinfect a surface, reach for an EPA-registered product instead.
How Often Should You Clean a Baby’s Room?
Rather than following a strict weekly disinfecting schedule, it helps to match the response to what’s actually happened.
| Situation | What to do |
|---|---|
| Normal daily use | Clean visible messes and frequently touched surfaces as needed |
| Diaper accident | Clean the contaminated surface promptly, and disinfect when appropriate |
| Toy dropped somewhere dirty | Clean it according to its material and the manufacturer’s directions |
| Toy the baby mouths often | Clean or sanitize based on the toy’s material |
| Bedding visibly soiled | Launder it promptly |
| Someone in the household is sick | Increase cleaning of high-touch surfaces and disinfect appropriate surfaces |
| Vomit, stool, or blood contamination | Clean first, then disinfect |
| Ordinary floor dust | Vacuum, sweep, or mop rather than disinfect |
| Humidifier in use | Refresh the water daily and maintain it according to instructions |
This approach responds to what’s actually going on in the room instead of creating pressure to disinfect on a fixed schedule.
Common Nursery Disinfecting Mistakes
A few habits tend to undermine an otherwise good cleaning routine.
- Disinfecting without cleaning first. Dirt and organic matter can make disinfectants less effective, so skipping the cleaning step wastes the disinfectant.
- Spraying chemicals while the baby is nearby. Move the baby out of the room first.
- Ignoring the disinfectant’s contact time. Wiping a surface dry too soon means the product hasn’t had time to work.
- Mixing cleaning products. Certain combinations, especially involving bleach, can be dangerous.
- Calling vinegar a disinfectant. It’s a cleaner, not a verified disinfectant.
- Using the same method on every toy material. Wood, plastic, plush, and electronic toys each need different care.
- Soaking electronic toys. This can damage them and isn’t a safe cleaning method.
- Using excessive chemicals when routine cleaning is sufficient. Not every mess calls for a disinfectant.
- Forgetting the changing area and other high-touch surfaces. These need more frequent attention than decorative furniture.
- Forgetting to clean the humidifier. Standing water can allow microorganisms to build up.
How to Deep Clean the Nursery After Illness
When someone in the household has been sick, a slightly more thorough clean is worth doing. Clean first, then concentrate disinfection efforts on:
- The changing table
- Door handles
- Drawer pulls
- Light switches
- Toys that were handled frequently during the illness
- Crib and furniture surfaces suited to disinfecting
- Electronics touched by caregivers
- Any other surfaces touched often while someone was sick
Use an EPA-registered disinfectant and let the surface stay visibly wet for the amount of time listed on the label, since this contact time is what allows the product to actually work. Afterward, wash any fabrics that were involved and dry them completely before use.
When Is the Room Safe for Baby Again?
Once you’ve finished cleaning or disinfecting, a short checklist helps confirm the room is ready:
- Follow the disinfectant’s label instructions
- Let treated surfaces dry for the time the label recommends
- Rinse surfaces afterward if the label requires it
- Ventilate the room
- Put all cleaning products away securely
- Wash your hands after cleaning
- Return toys to the room only once they’re fully dry
Paying attention to contact time, ventilation, and handwashing covers the parts of the process that matter most for safety.
Conclusion
Knowing how to disinfect a baby’s room comes down to using the right approach at the right time rather than treating every surface the same way. Routine cleaning handles most of what a nursery needs day to day, while disinfecting is worth saving for illness, contamination, or specific high-touch areas like the changing table. Cleaning before disinfecting, checking product labels, keeping the baby away from sprays, and matching your toy and fabric care to the material at hand will keep the room genuinely clean without unnecessary chemical exposure. A calm, consistent routine works better than an aggressive one, and it’s usually all a baby’s room really needs.
Baby’s Room Safely Related Questions
Do I really need to disinfect my baby’s room every day?
No. Daily disinfecting isn’t necessary for a normal, healthy household. Routine cleaning with soap and water handles most everyday dirt and germs. Save disinfecting for specific situations, such as illness, body fluid contamination, or a particularly high-touch surface that’s been exposed to something.
Can I use vinegar to disinfect a baby’s room?
Not reliably. Vinegar can help with ordinary cleaning, odor control, or mineral buildup, but it isn’t a registered household disinfectant. If a surface genuinely needs disinfecting, use an EPA-registered product instead and follow its label instructions.
Can I use hydrogen peroxide to disinfect a baby’s room?
Hydrogen peroxide is considered one of the potentially safer disinfecting ingredients, but it works best as part of a properly labeled product rather than a homemade solution. Choose a product labeled for the surface you’re treating and follow its instructions for dilution and contact time.
How long after disinfecting can my baby go back into the room?
This depends on the product label, which will specify a drying or contact time. Once that time has passed, ventilate the room, put products away securely, and wash your hands before bringing the baby back in.
Am I disinfecting my baby’s room too much?
It’s possible. If you’re disinfecting on a fixed schedule regardless of what’s actually happened in the room, you may be using more chemicals than necessary. Matching cleaning and disinfecting to actual events, like illness or contamination, is generally a more balanced approach.